JS 动画:给网页下个雪吧
文章目录
- JS 动画:给网页下个雪吧
- 简介
- 参考
- 完整示例代码
- 正文
- 1. 一朵雪花
- 2. 很多雪花
- 3. 让雪花动起来
- 4. 快速划过的雪花
- 5. 雪花摇曳
- 6. 最终效果
- 结语
简介
前些日子面试的时候被问到 raf 的问题,写了篇 JS 动画基础: 细说 requestAnimationFrame。今天来分享一个动画的实现:为网页加一个下雪动画
(电脑太烂了 gif 录的巨卡请各位加减看啊hhh
参考
| 冬天到了,给你的网站下个雪吧 | https://juejin.cn/post/6910857740327845901 |
完整示例代码
https://github.com/superfreeeee/Blog-code/tree/main/front_end/javascript/html" title=js>js_snow
正文
1. 一朵雪花
首先我们先画一个雪花试试
single.html
html"><div class="snow"></div>
index.css
body {
  background-color: skyblue;
  width: 100vw;
  height: 100vh;
  margin: 0;
  box-sizing: border-box;
  text-align: center;
}

.snow {
  width: 100px;
  height: 100px;
  position: absolute;
  top: 50%;
  left: 50%;
  background-image: radial-gradient(#fff 0%, rgba(255, 255, 255, 0) 60%);
  border-radius: 50%;
  transform: translate(-50%, -50%);
}
使用 background-image: radial-gradient 实现辐射状的颜色渐变来模拟雪花的效果

2. 很多雪花
一朵当然不太够,多来一些
index.html
html"><!DOCTYPE html>
<html lang="en">
  <head>
    <meta charset="UTF-8" />
    <meta http-equiv="X-UA-Compatible" content="IE=edge" />
    <meta name="viewport" content="width=device-width, initial-scale=1.0" />
    <title>JS Snow</title>
    <link rel="stylesheet" href="index.css" />
  </head>
  <body>
    <script src="basic.html" title=js>js"></script>
    <!-- 接下来的演示都是同一个 html,重复使用不浪费 -->
    <!-- <script src="movement.html" title=js>js"></script> -->
    <!-- <script src="quick.html" title=js>js"></script> -->
    <!-- <script src="swing.html" title=js>js"></script> -->
    <!-- <script src="snow.html" title=js>js"></script> -->
  </body>
</html>
basic.html" title=js>js
html" title=js>js">/* 随机生成数 */
function randInt(from = 0, to = 1) {
  return Math.floor(from + Math.random() * (to - from))
}

function rand(from = 0, to = 1) {
  return from + Math.random() * (to - from)
}

// 雪花
class Snow {
  constructor(options = {}) {
    this.el = null
    this.d = 0 // 直径 diameter
    this.maxDiameter = options.maxDiameter || 80 // 最大直径
    this.minDiameter = options.minDiameter || 2 // 最小直径
    this.opacity = 0 // 透明度
    this.x = 0 // 左偏移量
    this.y = 0 // 右边偏移量
    this.sx = 0 // 水平速度
    this.sy = 0 // 垂直速度
    this.maxSpeed = options.maxSpeed || 4 // 最大速度
    this.minSpeed = options.minSpeed || 1 // 最小速度
    this.windowWidth = window.innerWidth // 窗口宽度
    this.windowHeight = window.innerHeight // 窗口高度
    // 初始化雪花
    this.init()
  }

  // 初始化各属性
  init() {
    const {
      minDiameter,
      maxDiameter,
      d,
      windowWidth,
      windowHeight,
      maxSpeed,
      minSpeed,
    } = this
    this.d = randInt(minDiameter, maxDiameter)
    this.opacity = Math.random()
    this.x = randInt(d, windowWidth - d)
    this.y = randInt(d, windowHeight - d)
    this.sy = rand(minSpeed, maxSpeed)
    this.sx = Math.random() * this.sy
  }

  // 设置样式
  setStyle() {
    const { d, opacity, x, y } = this
    this.el.style.cssText = `
      position: fixed;
      left: 0px;
      top: 0px;
      width: ${d}px;
      height: ${d}px;
      opacity: ${opacity};
      background-image: radial-gradient(#fff 0%, rgba(255, 255, 255, 0) 60%);
      border-radius: 50%;
      z-index: 100;
      pointer-events: none;
      transform: translate(${x}px, ${y}px);
    `
  }

  // 渲染
  render() {
    const el = document.createElement('div')
    this.el = el
    this.setStyle()
    document.body.appendChild(el)
  }
}

for (let i = 0; i < 300; i++) {
  const snow = new Snow()
  snow.render()
}
我们先构件一个雪花类型,添加初始化方法(init)、设置样式(setStyle)、渲染(render)。最后创建一堆雪花就得了

3. 让雪花动起来
只有雪花是不行的,下雪的感觉就是要一片片雪花慢慢落下,给他加上
movement.html" title=js>js
html" title=js>js">class Snow {

  // other funcitons

  move() {
    const { windowWidth, windowHeight, d, sx, sy } = this
    // 更新位置
    this.x += sx
    this.y += sy
    // 抵达边缘
    if (this.x > windowWidth) this.x = -d
    if (this.y > windowHeight) {
      this.x = randInt(-d, windowWidth - d)
      this.y = -d
    }
    const { x, y } = this
    this.el.style.transform = `translate(${x}px, ${y}px)`
  }
}

function move(span) {
  let recent = performance.now()
  const move = (time) => {
    if (time - recent > span) {
      recent = time
      snowsList.forEach((snow) => snow.move())
    }
    requestAnimationFrame(move)
  }
  requestAnimationFrame(move)
}

move(30)
利用刚刚在 init 里面初始化的变量,给雪花类型加上一个 move 函数。最后使用 requestAnimationFrame 来完成动画

4. 快速划过的雪花
到此为止已经很有感觉了,下面来加一些细节实现
第一种是距离很近的雪花,我们想要模拟雪花从眼前快速划过的效果
quick.html" title=js>js
html" title=js>js">class Snow {

  constructor(options = {}) {
    // ...

    // 近距离快速划过
    this.z = 0
    this.quickMaxSpeed = options.quickMaxSpeed || 10 // 最大速度
    this.quickMinSpeed = options.quickMinSpeed || 8 // 最小速度
    this.quickDiameter = options.quickDiameter || 80
    this.quickOpacity = options.quickOpacity || 0.2
  }

  init() {
    const {
      minDiameter,
      maxDiameter,
      d,
      windowWidth,
      windowHeight,
      maxSpeed,
      minSpeed,
      quickMaxSpeed,
      quickMinSpeed,
      quickDiameter,
      quickOpacity,
    } = this
    const isQuick = Math.random() > 0.8
    if (isQuick) {
      this.d = quickDiameter
      this.z = randInt(200, 500)
      this.opacity = quickOpacity
      this.sy = rand(quickMinSpeed, quickMaxSpeed)
    } else {
      this.d = randInt(minDiameter, maxDiameter)
      this.opacity = Math.random()
      this.sy = rand(minSpeed, maxSpeed)
    }
    this.x = randInt(d, windowWidth - d)
    this.y = randInt(d, windowHeight - d)
    this.sx = Math.random() * this.sy
  }

  setStyle() {
    const { d, opacity, x, y, z } = this
    this.el.style.cssText = `
      /* 忽略其他属性 */
      transform: translate3d(${x}px, ${y}px, ${z}px);
    `
  }

  // ...
}
我们为雪花添加 z 属性,并使用 translate3d 来修改 z 方向,即雪花远近程度,并在 init 中让眼前的雪花(isQuick)的运动速度变快

5. 雪花摇曳
真实世界中的雪花其实是很轻的,有些雪花甚至会在空中随风摇曳,也给他加上(这个随风摇曳的效果其实就是让元素标签出一种来回甚至随机的摆荡轨迹)
swing.html" title=js>js
html" title=js>js">class Snow {

  constructor(options = {}) {
    // ...

    // 左右摇摆
    this.isSwing = false
    this.stepSx = 0.03
  }

  init() {
    // ...
    this.isSwing = Math.random() > 0.8
    // ...
  }

  // ...

  move() {
    const { windowWidth, windowHeight, d, sx, sy } = this
    // 摆荡效果
    if (this.isSwing) {
      const stepSx = this.sx >= 1 || this.sx <= -1 ? -this.stepSx : this.stepSx
      this.stepSx = stepSx
      this.sx += stepSx
    }
    // ... 原本的位移效果
  }
这边我们使用增量的速度控制,每次加一点加一点,到达极限速度后就反向,如此一来就可以实现简单的摆荡效果

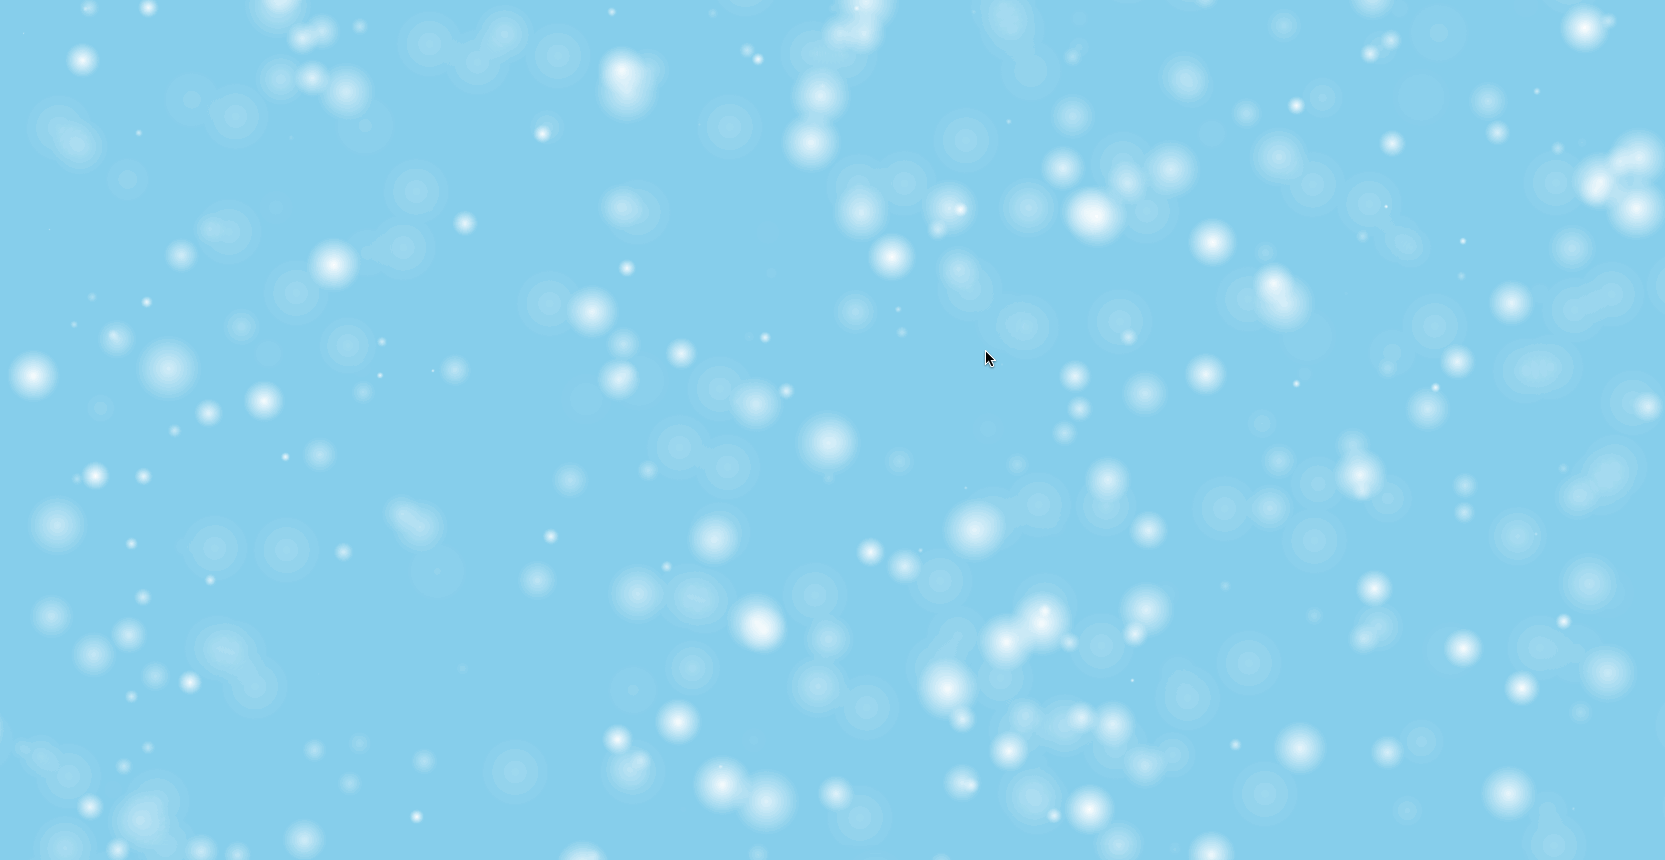
6. 最终效果
最后对整个雪花布景进行封装,并抽象出雪花个数(count = size / 5000)和移动速度(timeSpan)的参数设置,并将对象附加到 window 对象上,就能够在任何网页自由引入啦!(还可以透过 console 手动控制雪花的重绘、停止)
snow.html" title=js>js
html" title=js>js">function randInt(from = 0, to = 1) {
  return Math.floor(from + Math.random() * (to - from))
}

function rand(from = 0, to = 1) {
  return from + Math.random() * (to - from)
}

class Snow {
  constructor(options = {}) {
    this.el = null
    this.d = 0 // 直径 diameter
    this.maxDiameter = options.maxDiameter || 80 // 最大直径
    this.minDiameter = options.minDiameter || 2 // 最小直径
    this.opacity = 0 // 透明度
    this.x = 0 // 左偏移量
    this.y = 0 // 右边偏移量
    this.sx = 0 // 水平速度
    this.sy = 0 // 垂直速度
    this.maxSpeed = options.maxSpeed || 4 // 最大速度
    this.minSpeed = options.minSpeed || 1 // 最小速度
    this.windowWidth = window.innerWidth // 窗口宽度
    this.windowHeight = window.innerHeight // 窗口高度
    // 近距离快速划过
    this.z = 0
    this.quickMaxSpeed = options.quickMaxSpeed || 10 // 最大速度
    this.quickMinSpeed = options.quickMinSpeed || 8 // 最小速度
    this.quickDiameter = options.quickDiameter || 80
    this.quickOpacity = options.quickOpacity || 0.2
    // 左右摇摆
    this.isSwing = false
    this.stepSx = 0.03
    // 初始化雪花
    this.init()
  }

  init() {
    const {
      minDiameter,
      maxDiameter,
      d,
      windowWidth,
      windowHeight,
      maxSpeed,
      minSpeed,
      quickMaxSpeed,
      quickMinSpeed,
      quickDiameter,
      quickOpacity,
    } = this
    const isQuick = Math.random() > 0.8
    this.isSwing = Math.random() > 0.8
    if (isQuick) {
      this.d = quickDiameter
      this.z = randInt(200, 500)
      this.opacity = quickOpacity
      this.sy = rand(quickMinSpeed, quickMaxSpeed)
    } else {
      this.d = randInt(minDiameter, maxDiameter)
      this.opacity = Math.random()
      this.sy = rand(minSpeed, maxSpeed)
    }
    this.x = randInt(d, windowWidth - d)
    this.y = randInt(d, windowHeight - d)
    this.sx = Math.random() * this.sy
  }

  setStyle() {
    const { d, opacity, x, y, z } = this
    this.el.style.cssText = `
      position: fixed;
      left: 0px;
      top: 0px;
      width: ${d}px;
      height: ${d}px;
      opacity: ${opacity};
      background-image: radial-gradient(#fff 0%, rgba(255, 255, 255, 0) 60%);
      border-radius: 50%;
      z-index: 100;
      pointer-events: none;
      transform: translate3d(${x}px, ${y}px, ${z}px);
    `
  }

  render() {
    const el = document.createElement('div')
    this.el = el
    this.setStyle()
    document.body.appendChild(el)
  }

  move() {
    const { windowWidth, windowHeight, d, sx, sy } = this
    // 摆荡效果
    if (this.isSwing) {
      const stepSx = this.sx >= 1 || this.sx <= -1 ? -this.stepSx : this.stepSx
      this.stepSx = stepSx
      this.sx += stepSx
    }
    // 更新位置
    this.x += sx
    this.y += sy
    // 抵达边缘
    if (this.x > windowWidth) this.x = -d
    if (this.y > windowHeight) {
      this.x = randInt(-d, windowWidth - d)
      this.y = -d
    }
    const { x, y, z } = this
    this.el.style.transform = `translate3d(${x}px, ${y}px, ${z}px)`
  }
}

class SnowHandler {
  constructor() {
    this.snowList = []
    this.render = this.render.bind(this)
    this.clear = this.clear.bind(this)
    this.animationId = null
    this.delay = 200
    this.recent = performance.now()
    this.timeSpan = 30

    this.setListener()
    this.render()
  }

  render() {
    this.clear()
    const snowList = this.snowList
    const size = window.innerWidth * window.innerHeight
    const count = Math.floor(size / 3500)
    console.log(`snows count: ${count}`)
    for (let i = 0; i < count; i++) {
      const snow = new Snow()
      snow.render()
      snowList.push(snow)
    }
    this.move()
  }

  move() {
    const { recent, timeSpan } = this
    this.animationId = requestAnimationFrame((time) => {
      if (time - recent > timeSpan) {
        this.recent = time
        this.snowList.forEach((snow) => snow.move())
      }
      this.move()
    })
  }

  clear() {
    cancelAnimationFrame(this.animationId)
    for (const snow of this.snowList) {
      document.body.removeChild(snow.el)
    }
    this.snowList = []
  }

  setListener() {
    const { delay } = this
    let timer = null
    const { render, clear } = this
    window.onresize = function () {
      if (timer) {
        clearTimeout(timer)
      }
      timer = setTimeout(() => {
        clear()
        render()
      }, delay)
    }
  }

  stop() {
    cancelAnimationFrame(this.animationId)
  }

  restart() {
    this.move()
  }
}

const handler = new SnowHandler()
// console.log(handler)

window.handler = handler
window.stop = function () {
  handler.stop()
}
window.restart = function () {
  handler.restart()
}
结语
本篇到此结束啦!就是一个 raf 的动画效果实现小分享,供大家参考(这雪花还挺治愈的,发呆的时候就盯着看还挺舒压hh